How to make an online portfolio in 11 simple steps
Creating a professional online portfolio is a vital step for anyone looking to showcase their skills and achievements. Whether you’re an artist, designer, writer, or web developer, a well-crafted online portfolio can help you stand out in a competitive field.
Thankfully, building an impressive online portfolio is not as complicated as you might think. We’ve prepared a simple step-by-step guide to bring your online portfolio to life. Let’s begin!
1. Find inspiration for your portfolio
Creating an online portfolio starts with gathering inspiration and ideas, which will be the foundation for the design and content. Let’s cover the key steps to help you get started.
Explore online portfolios
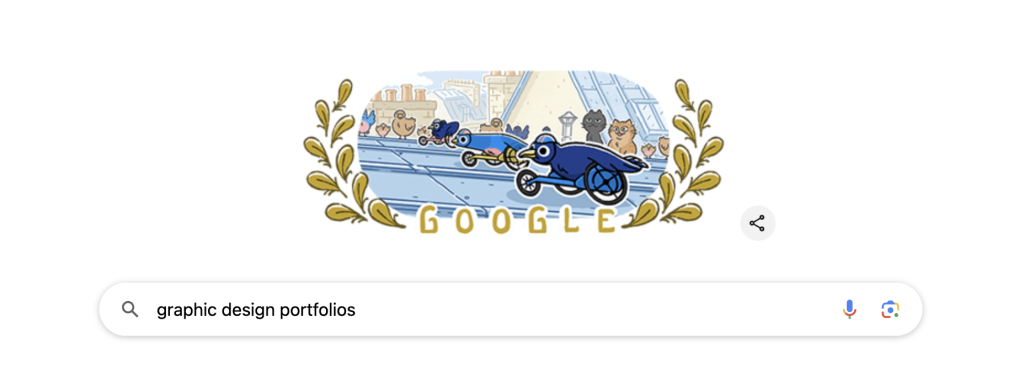
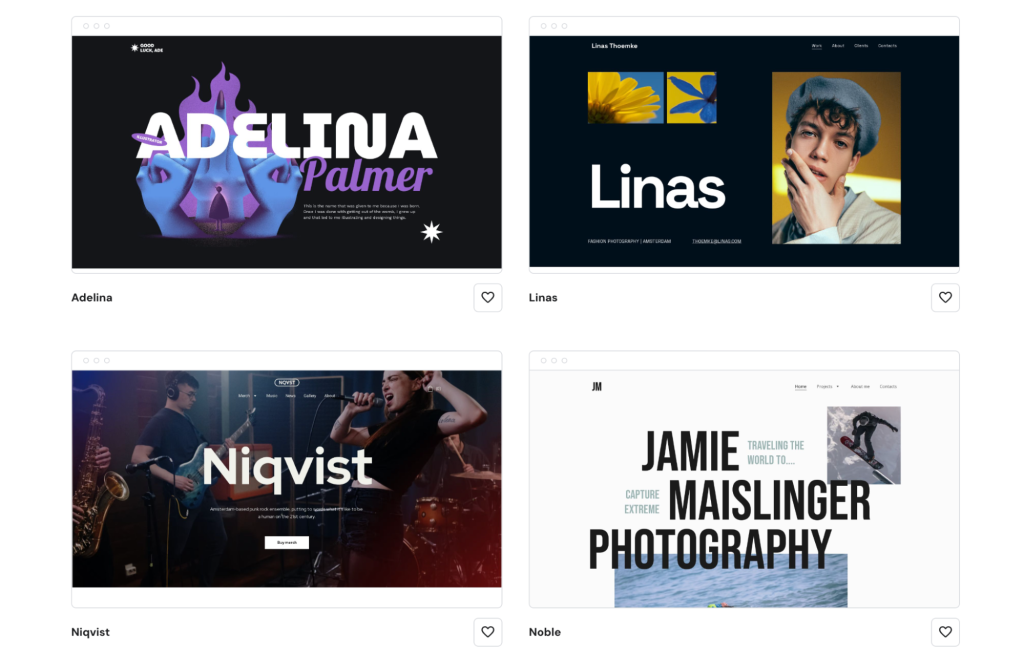
Begin by searching for portfolios in your field, such as graphic design or art portfolios. As you browse through different examples, pay attention to key elements like layout, color schemes, and presentation.
The goal is to gather ideas and see what resonates with you, so don’t worry if some portfolios seem too complex – this is simply a starting point for inspiration.
Not sure where to start? Check out our selection of the best portfolio website examples.
Identify design preferences
As you explore various portfolios, note any recurring design elements that catch your eye.
For instance, you might find yourself drawn to minimalist designs with lots of white space, or perhaps you like portfolios that use bold, vibrant colors. Identifying these preferences will help you form a clearer vision of the style you want to pursue in your own portfolio.
Bookmark your favorites
To keep track of the portfolios that stand out, bookmark the ones you find most inspiring. These will serve as valuable references when you start designing your own portfolio.
Having a collection of examples will not only provide guidance but also help you communicate your vision if you decide to work with a designer or use a portfolio builder.
Gather ideas for content
While exploring, pay attention to how others structure their content.
Notice how they introduce themselves, organize their projects, and the additional sections they include, such as blogs or testimonials. Make a list of these elements and consider which ones you might want to incorporate into your own portfolio.
Sketch your ideas
Finally, take some time to sketch a rough outline of your portfolio. This doesn’t need to be detailed – just a simple sketch of your homepage layout, how you might organize your projects, and where you plan to place your contact information.
This step will help you visualize your portfolio and give you a clearer direction when you begin the actual design process.
2. Get a portfolio builder
Now that you’ve gathered inspiration and have a clear vision for your online portfolio, it’s time to choose a tool to help you bring that vision to life.
An online portfolio website builder is a great choice for beginners, as it simplifies the process of creating a professional-looking website without needing advanced technical skills. Look for a website builder that is:
- Easy to use. Find a portfolio builder that offers a user-friendly interface, especially if you’re new to website creation. You want a tool that makes it easy to drag and drop elements, customize layouts, and add content without requiring coding knowledge.
- Customizable. A good portfolio builder should let you customize templates to fit your personal style and branding. This includes adjusting colors, fonts, and layouts to make your portfolio truly unique.
- Integrated with useful tools. Consider builders that come with search engine optimization (SEO) and AI tools, mobile-responsive templates, and analytics. These features will help ensure your portfolio performs well across different devices and is easily discoverable online.
Hostinger Website Builder is an excellent choice for those new to creating online portfolios. Starting at just $£2.49/month, Hostinger Webiste Builder offers several features that make the website creation process easy and enjoyable:
- No-code builder. Hostinger Website Builder is a no-code platform, meaning you can design and customize your portfolio without any technical skills. It’s an ideal tool for beginners who want to create a professional site without the hassle of learning to code.
- Drag-and-drop interface. Easily add, move, and resize elements on your page by simply dragging and dropping them into place. This visual and intuitive approach helps you effortlessly experiment with different layouts and designs.
- Real-time editing. See the changes you make to your site in real time. You can visualize your portfolio’s appearance before it’s published so that you’re satisfied with the final result.
- AI Website Builder. By answering a few questions about your website’s purpose and style preferences, the AI Website Builder suggests layouts and designs that align with your goals, saving you time and effort.
- AI Writer. It helps you create content for your web pages, speeding up the content creation process and ensuring that your portfolio is as informative as it is visually appealing.
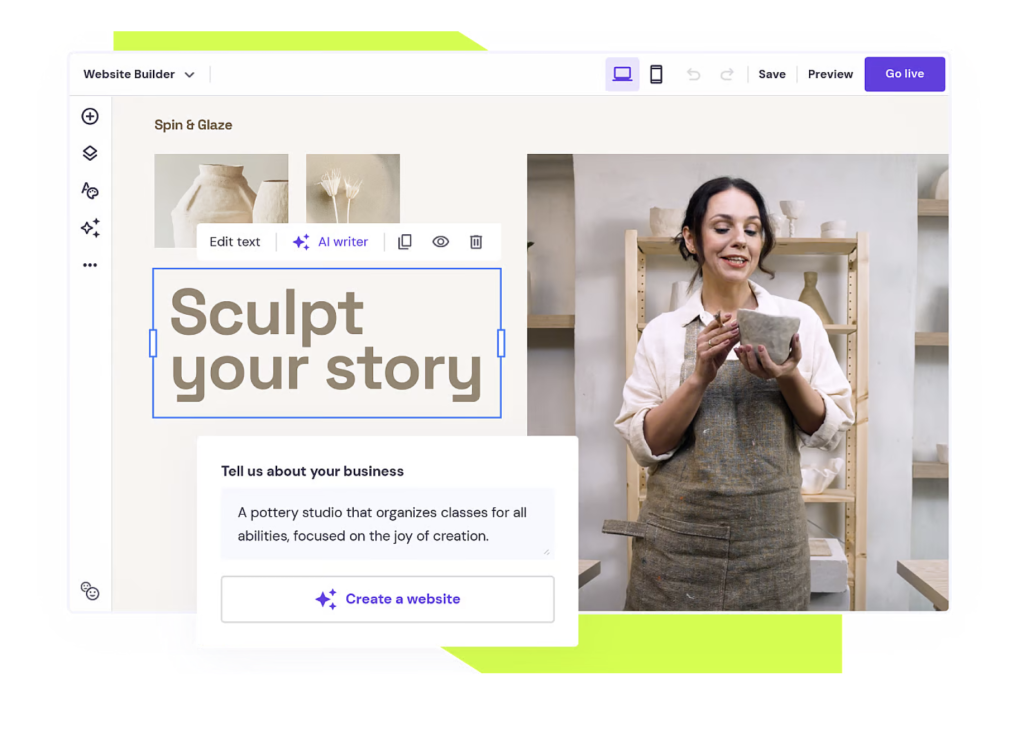
Get started like this:
- Sign up. Select a plan and create an account with Hostinger.
- Use AI to speed up the process. Describe your portfolio in a few words and answer a few questions about the type of website you need. The AI Website Builder will create a fully-fledged website based on your needs. Then, use the built-in AI design and writing tools to customize the content.
- Preview and publish your portfolio. Review your changes to ensure everything looks perfect before you publish your site.
3. Decide on your portfolio’s design
With your portfolio builder selected, it’s time to focus on design. Your portfolio’s design should not only look good but also reflect your personal brand and the professional image you want to convey.
Start by considering the overall look and feel of your portfolio. Do you prefer a minimalist aesthetic, or are you drawn to bold, vibrant designs? Your choice should align with your niche and the message you want to communicate.
Simply use the AI Website Builder to describe your portfolio site in a few words. The tool will create a layout based on your description, complete with placeholder content.
Next, tailor your design to suit your field. For example, a graphic designer might opt for a more creative and dynamic layout, while a writer might choose a clean, text-focused design.
Ensure that your portfolio is also easy to navigate. Visitors should be able to find your projects, contact information, and other content easily. Avoid cluttered layouts that can confuse or overwhelm users.
Choose fonts that are easy to read and ensure there’s enough contrast between text and background colors. A clean, simple design often makes your work stand out.
Consider these aspects when customizing your site’s design:
- Color scheme. Select a color scheme that reflects your brand and complements your work. You can usually do this easily within your portfolio builder’s settings.
- Fonts. Stick to 2-3 fonts throughout your portfolio to maintain consistency. Make sure they match the tone of your brand – whether it’s professional, creative, or somewhere in between.
- Layout. Arrange your content to guide the visitor’s eye through your portfolio. Place key sections, such as your top projects, prominently on the page to call attention to them.
4. Highlight your top projects
It’s important to showcase the work itself and provide context, insights, and a narrative that communicates your skills and value. Here are a few tangible ways to do this:
Use a storytelling approach
Start by describing the background of each project. Who was the client? What were their needs or challenges? This sets the stage for your work.
Explain your approach to solving the problem. Did you conduct research, create wireframes, or lead a team? Highlight your role and the skills you used.
Finally, conclude with the project’s results. For instance, did the website redesign increase conversion rates? Did your branding lead to a successful product launch? If you can, share the numbers or other quantifiable results to illustrate your accomplishment.
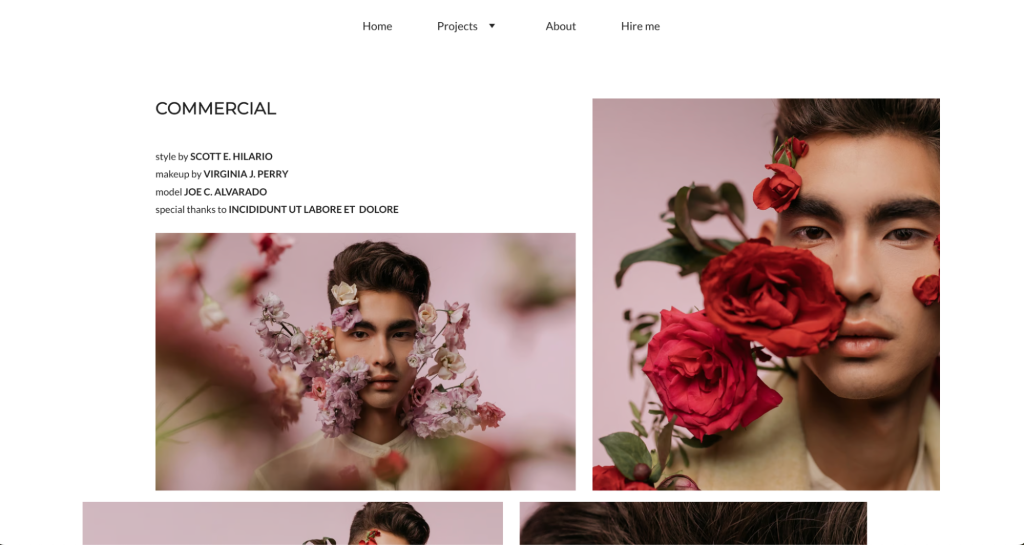
Organize projects by category or skill set
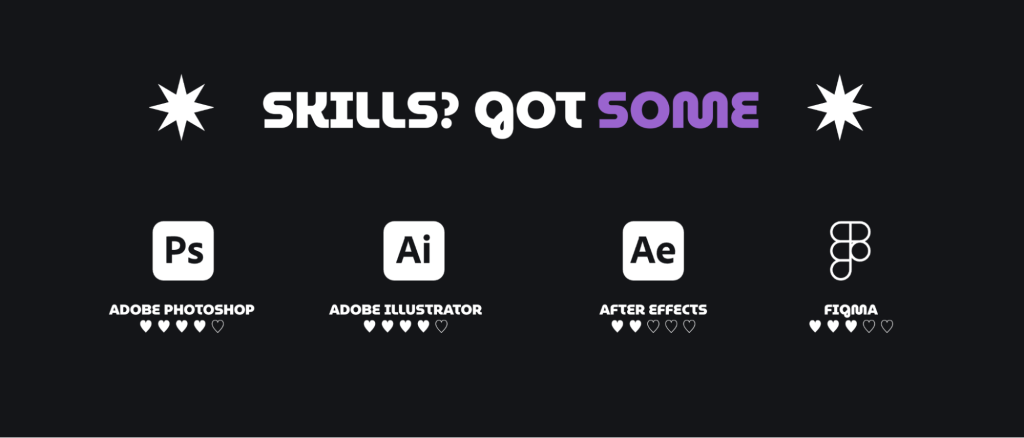
If you have diverse skills, consider organizing your projects into categories like Web Design, Branding, Photography, and so on, so that visitors can find the work that’s relevant to them.
Under each project, list specific skills and tools you used, such as Adobe Illustrator, HTML/CSS, or User Research. This will help potential clients or employers quickly see what you bring to the table.
Include high-quality visuals and mockups
Show before-and-after visuals to demonstrate the impact of your work. This is especially effective in redesign projects, or branding revamps.
Instead of just showing a flat design, use mockups that show how your designs look in real-life contexts, like a mobile app on a smartphone or a logo on business cards. This offers a better feel for how your work is actually used.
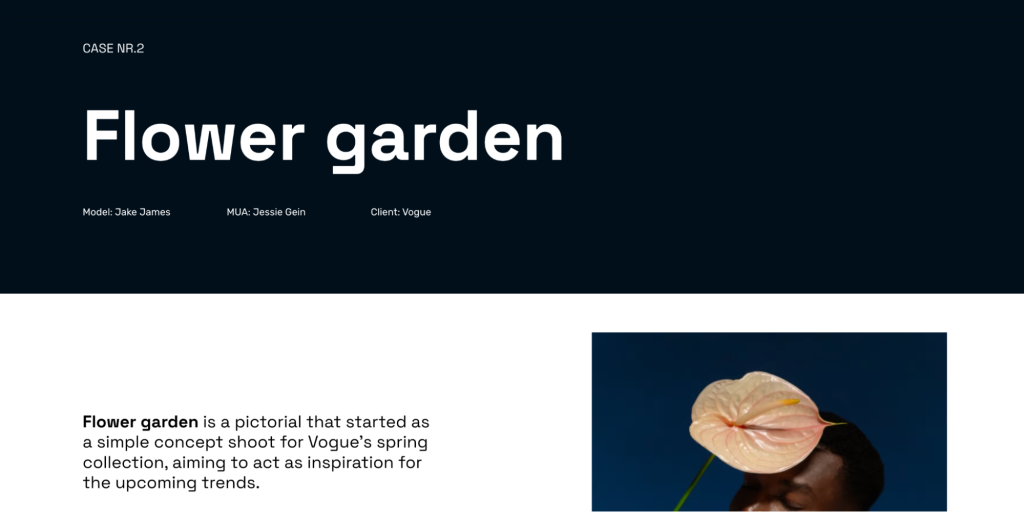
Add case studies or detailed descriptions
Provide more in-depth case studies for 2-3 key projects. Include sections like Project Brief, Approach, Challenges, Solution, and Results. This gives a full picture of your process and strategic thinking.
If a project went particularly well, include the client’s testimonial or feedback. This adds credibility and shows you can deliver results that satisfy clients.
Create interactive elements or videos
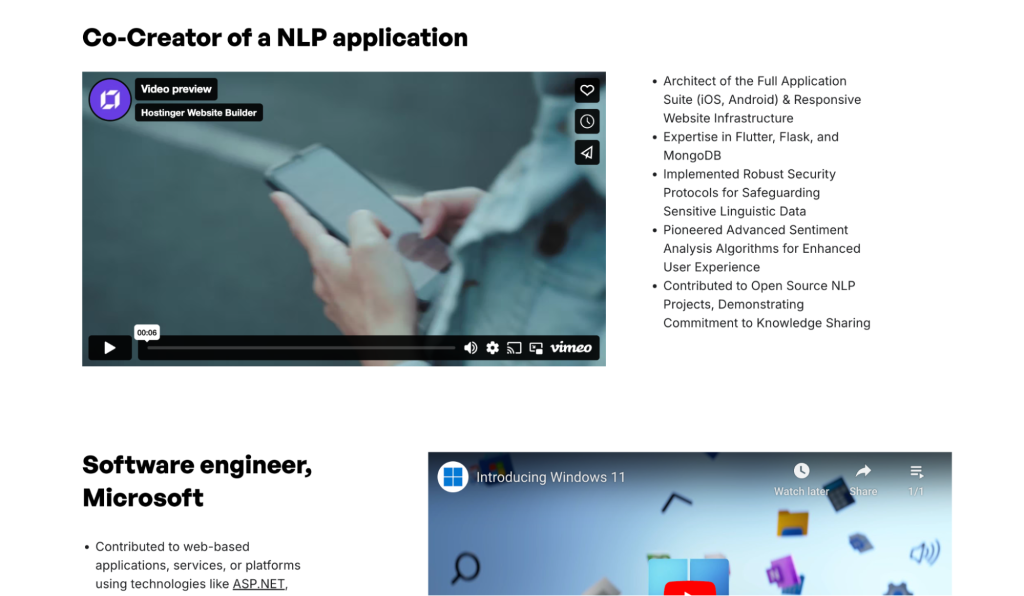
Consider creating short videos or interactive elements that walk visitors through your process, key decisions, and outcomes. This can be more engaging than text alone, offering a more dynamic way to showcase your work.
Make images or titles clickable to provide more detail. For example, clicking on a project image could open a modal with additional information, like images or a breakdown of your process.
Use consistent formatting for each project
Use a consistent format for each project, such as Title, Role, Description, Visuals, and Outcome. This will help visitors navigate and better understand your work.
Make sure that your project titles, subheadings, and key points are easily distinguishable. Use typography, color, and spacing strategically to guide the viewer’s eye.
5. Add high-quality images
Images play a very important role in an online portfolio. They are often the first thing visitors notice and are central to showcasing your work. To ensure that your portfolio looks polished and professional, select and optimize your images carefully.
Start by choosing clear, visually appealing high-resolution images. These images should represent your best work and spotlight all your skills.
For example, if you’re a photographer, include a mix of wide-angle shots and close-ups that emphasize different aspects of your projects. This variety will keep visitors engaged and provide a fuller picture of your capabilities.
Once you’ve chosen your images, it’s important to optimize them for the web. Images with a large file size can slow down your site and result in a bad user experience, so compressing them is key to maintaining a fast-loading portfolio.
After optimizing your images, upload them to your website. Consider the narrative you want to create – perhaps starting with a strong, impactful image followed by supporting visuals that tell the story of each project.

Add descriptive alt text to each image. This text improves accessibility for visitors using screen readers and boosts your site’s SEO by helping search engines understand your images.
By carefully selecting, optimizing, and arranging your images, you ensure that your portfolio is visually stunning, fast, and user-friendly.
6. Add essential content and functionalities
Beyond showcasing your work, a successful online portfolio must be informative and facilitate visitors to take action. This includes a compelling About page, clear contact options, and, optionally, client testimonials and a blog.
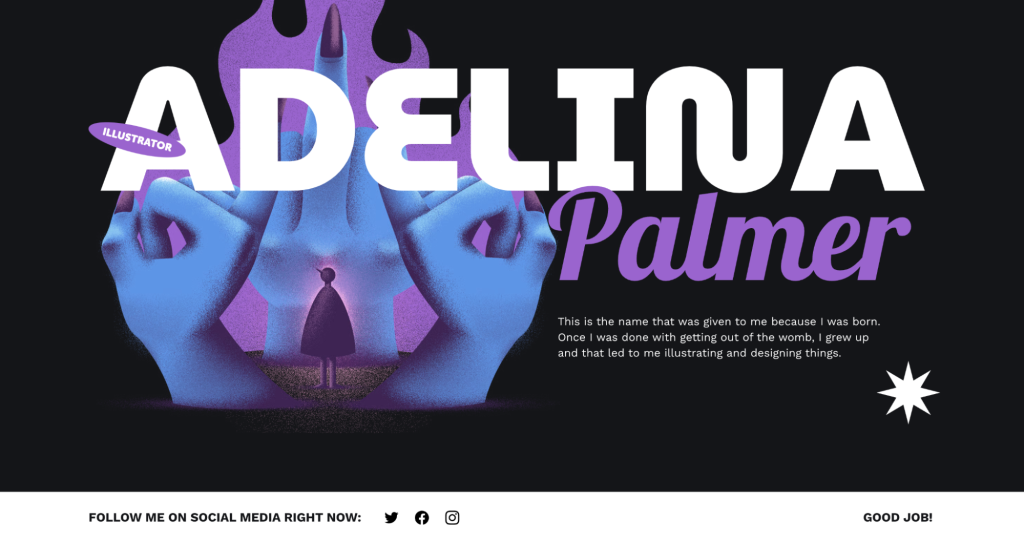
Your About page is your chance to introduce yourself and provide context for your work. It should offer a brief but engaging narrative about who you are, what you do, and what makes your work unique.

Including a professional photo adds a personal touch, making it easier for visitors to connect with you on a human level. To make your About page even more effective, include a clear call to action, inviting visitors to contact you for collaboration or inquiries.
Contact information is another critical component of your portfolio. Make it easy for visitors to get in touch with you by adding a contact form. This form should be simple, asking for basic details like name, email, and message.

It’s also a great idea to include your professional email address and links to your social media profiles. This gives visitors multiple ways to contact you and keep up with your work.
Client testimonials can add significant value to your portfolio. They provide social proof, convincing potential clients or employers that others have been satisfied with your work.
Place these testimonials strategically within your portfolio, such as on the homepage or next to relevant projects.
If you don’t have client testimonials, consider including a blog. Regular blog posts can be another channel to showcase your expertise, keep your portfolio content fresh, and improve your SEO, making it easier for new visitors to find you.
Finally, consider adding downloadable resources. This could be a downloadable version of your portfolio, a detailed case study, or a whitepaper.
These resources can be particularly useful if you target potential clients or employers who want to explore your work more deeply. Make these resources easily accessible with clear, prominent buttons or links.
7. Link to your social media accounts
Linking your social media accounts to your portfolio is a great way to expand your online presence and provide additional touchpoints for potential clients or employers.
Social media links let visitors explore more of your work, engage with your content, and stay updated with your latest projects or achievements. For professionals, this can help build trust and credibility, as visitors can see your consistent activity, interactions with followers, and real-time updates.
It also offers a chance to showcase a more personal side of your professional journey, which can be a deciding factor for clients looking to work with someone who feels approachable and authentic.
Adding social media icons to your portfolio is easy with Hostinger Website Builder. Here’s how you can do it:
- Open your portfolio website in Hostinger Website Builder and navigate to the page where you want to add social media icons.
- Click on the Add Element button on the left sidebar and select Social icons from the options.
- Drag the social media element to the desired location on your page.
- Click on the newly added social icons and input the URLs for your social media profiles. You can adjust the icons’ design and size to match your portfolio’s style.
- Save your changes and preview your portfolio to ensure that the icons are correctly linked and displayed.
8. Enhance user experience (UX)
User experience (UX) is a critical aspect of your digital portfolio. A well-designed portfolio website allows visitors to easily engage with your content and find the information they’re looking for. Here’s how to enhance the UX of your portfolio:
Focus on intuitive navigation
Organize your portfolio’s content into clear and concise menu categories.
Whether it’s separating your projects into different sections – such as Branding, Web Design, Photography – or providing easy access to your About and Contact pages, visitors should be able to find what they need with minimal effort.
Consider adding breadcrumbs or other navigation aids that show users where they are on your site. This helps visitors understand the structure of your portfolio and makes it easier for them to backtrack or explore other sections.
Ensure fast loading times
Compress images, reduce the use of heavy scripts, and limit the number of widgets that might slow down your site. Fast loading times are crucial for keeping visitors engaged and reducing bounce rates.
Use tools like Google PageSpeed Insights to regularly test your portfolio’s loading speed. Identify any areas that might be causing slowdowns and optimize them for better performance.
Focus on an engaging layout
Arrange your content in a way that guides the visitor’s eye naturally through the page. Use larger fonts and bolder colors for headings and key points. Also, break up text with images or whitespace so visitors don’t feel overwhelmed.
To make your portfolio more engaging, include interactive elements such as hover effects, animations, or clickable project thumbnails. But remember to use them sparingly so you don’t distract visitors or slow down the site.
Test and refine across devices
Ensure that your portfolio looks and functions well on various devices, including desktops, tablets, and smartphones. Test how your site behaves in different browsers as well, as some design elements might display differently.
After launching your portfolio, gather feedback from users about their experience. Use this feedback to make regular improvements, refining your portfolio to better meet your audience’s needs.
Pro Tip
For more details, read our articles on web design best practices and how to perform a UX audit on your website.
9. Optimize your portfolio for search engines
Search engine optimization (SEO) is essential for increasing the visibility of your portfolio online. A well-optimized portfolio will rank higher in search engine results, making it easier for potential clients or employers to find you.
Here’s how to optimize your portfolio for better SEO:
- Keyword research. Identify relevant keywords for your niche, such as graphic design portfolio or freelance web developer.
- Keyword integration. Incorporate these keywords naturally into your content, including headings, project descriptions, and the About page.
- Optimize images. Rename image files with descriptive keywords, add alt text for each image, and consider using next-gen formats like WebP for faster loading times.
- SEO-friendly URLs. Create short, descriptive URLs with relevant keywords, such as yourportfolio.com/branding-project-xyz.
- Meta titles and descriptions. Write compelling meta titles and descriptions for each page. Be clear about what’s on the page and include keywords to improve search engine visibility.
- Utilize SEO tools. Use the built-in SEO tools in Hostinger Website Builder to edit meta tags, create sitemaps, and monitor your SEO performance.
10. Ensure mobile friendliness
Since most web traffic comes from smartphones and tablets, your portfolio should look and function well on smaller screens.
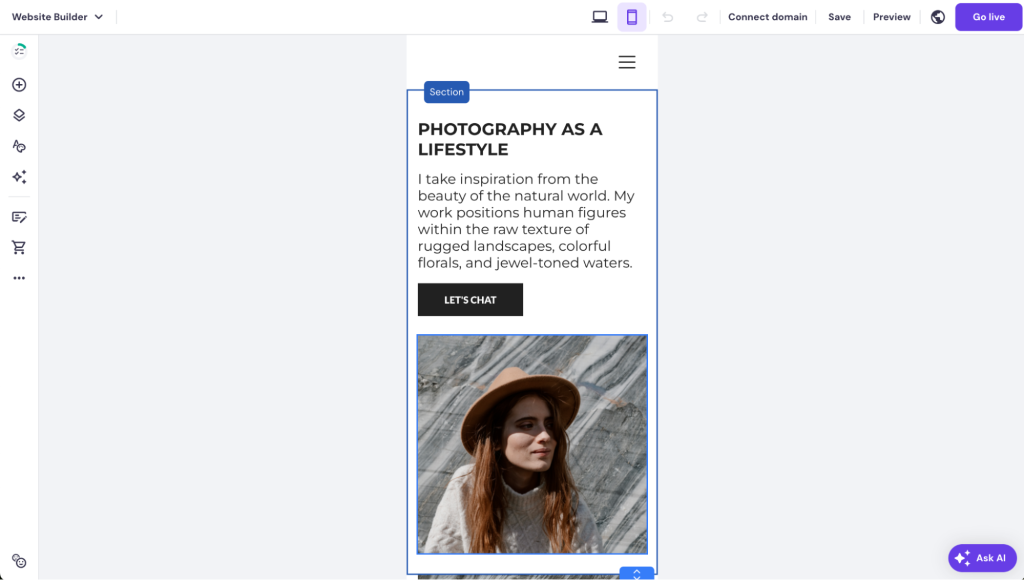
Hostinger Website Builder makes it easy to edit the mobile version of your portfolio website. In the editor, toggling between the desktop and mobile views is simple.
You can also hide images and other elements from mobile devices to enhance the user experience. This helps to reduce page load times, improve website performance, and create a cleaner, more focused design that is easier for mobile users to navigate.
Mobile testing tools can help you identify any issues with how your site displays or functions on mobile devices. These tests give you insights into areas of improvement, such as font sizes, button placement, or image scaling.
After running these tests, make the necessary tweaks so that visitors on any device have a smooth, engaging experience.
11. Launch and promote your portfolio
Before launching your portfolio, thoroughly review all content and test every feature to ensure everything works as intended. This includes verifying that all links, images, and forms are functional.
Once you’re confident that your portfolio is ready, it’s time to go live and promote it.
Promote your portfolio by sharing it across your social media platforms, including it in your email signature, and spreading the word within your professional network. Consistent promotion will help drive traffic to your site, increasing the chances of connecting with potential clients or employers.
Monitor your portfolio’s performance using analytics tools provided by your website builder or third-party services like Google Analytics. Regularly check metrics such as visitor numbers, time spent on site, and user engagement.
Use this data to continuously improve your promotion strategy, so that your portfolio remains a dynamic tool for showcasing your work and growing your professional presence.
For more information, read our tutorial on how to promote your website for free.
Conclusion
Creating an online portfolio is a great way to showcase your skills and make a strong impression in your field, whether you’re an artist, designer, writer, or developer. Here’s a summary of the steps:
- Gather inspiration and set a vision. Research other portfolios to develop ideas and a clear vision for your site.
- Choose a user-friendly portfolio builder. Select a tool like Hostinger Website Builder to easily create and customize your portfolio without coding.
- Design for clarity and brand reflection. Keep your design clean, easy to navigate, and consistent with your brand.
- Showcase your best work. Highlight your top projects with high-quality images, detailed descriptions, and compelling storytelling.
- Add essential content. To enhance credibility, include an engaging About page, contact details, and social media links.
- Optimize for mobile and search. To increase visibility, ensure your portfolio is optimized for search engines and mobile devices.
- Promote and monitor your portfolio site. Share your digital portfolio widely and use analytics to track performance and make improvements.
By following these steps, you’ll create a strong online presence that showcases your work and opens up new professional opportunities.
How to make an online portfolio FAQ
What are the benefits of having an online portfolio?
An online portfolio helps you showcase your work to a global audience, making it easier for potential clients or employers to find and assess your skills.
Are there any templates available for creating an online portfolio?
Yes, Hostinger Website Builder offers many portfolio templates that can be customized to suit your personal style and professional needs.
How do I make my online portfolio stand out from others?
Highlight your unique strengths, curate your best work, and ensure your portfolio is user-friendly and visually appealing.
How much does it cost to build a portfolio?
The cost varies depending on the platform and features you choose, but there are options available to suit different budgets, from free templates to premium services. For example, with Hostinger Website Builder, you can get started from just $£2.49/month.

Matleena is a seasoned Content Writer with 5 years of content marketing experience. She has a particular interest in emerging digital marketing trends, website building, and AI. In her free time, Matleena enjoys cups of good coffee, tends to her balcony garden, and studies Japanese. Follow her on LinkedIn


Comments
June 18 2024
Thanks for the important information. Bookmarked!
June 20 2024
You're welcome! I'm glad you found the information helpful. Feel free to reach out if you have any questions ;)