Multiple Themes WordPress: How to Use Different Themes on Your Pages
Choosing the right theme for your WordPress site is crucial since it serves as a visual representation of your brand and directly impacts user experience.
However, sometimes the look and the features of a single WordPress theme aren’t enough to fulfill the site’s overall needs.
If that’s your case, consider using multiple themes on your WordPress website to make it more attractive and improve its functionality.
Luckily, anyone can use multiple themes on one WordPress installation without getting help from a website developer – all they need to do is activate a plugin called Multiple Themes.
In this WordPress tutorial, we’ll show you how to use and manage multiple themes.
1. Prepare for the Installation
Before you install and use Multiple Themes, make sure to create a backup of the site. This way, you’ll be able to restore the WordPress website to its original version in case any content is lost during the process.
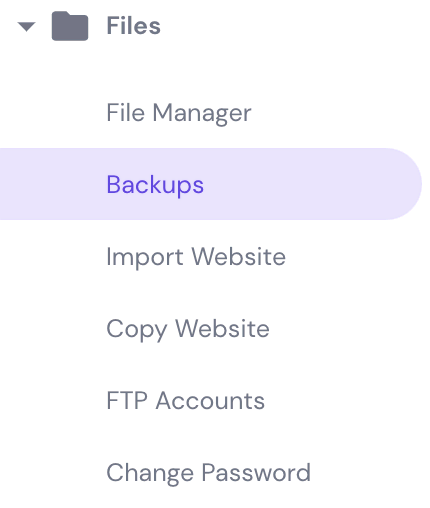
If you use Hostinger, the process to back up a site is simple. Log in to the hPanel, then navigate to Files → Backups.
To back up a WordPress site, you’ll need to download the MySQL database and website files.
First, click Select under Files backups. After that, select the backup date and click on Next Step.
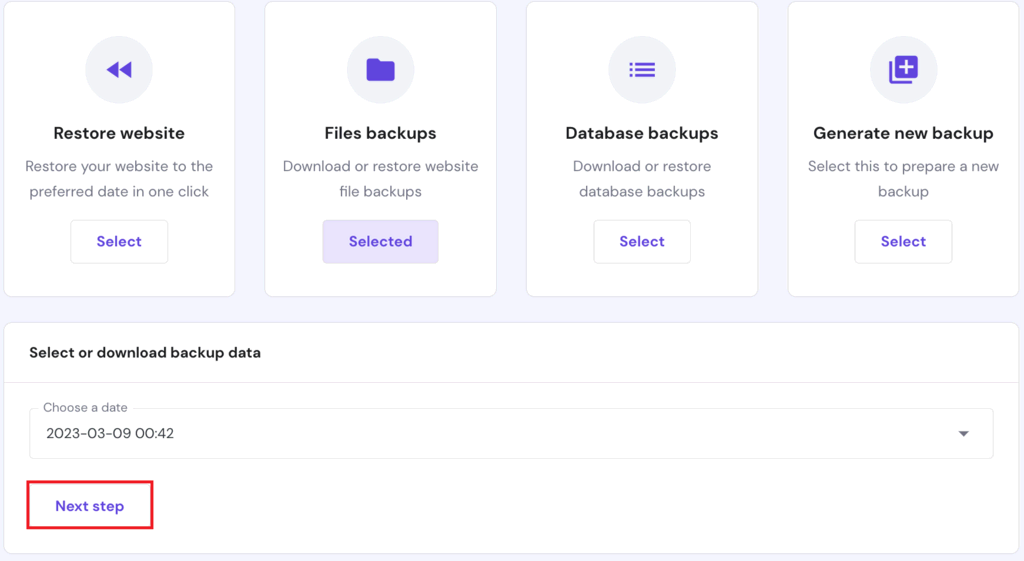
The system will start the process and send a notification once the backup is ready to download.
Next, hit the Select button under Database backups. Pick the backup data you want to download, click Show databases, and choose the most recent backup date. Then, select Download.
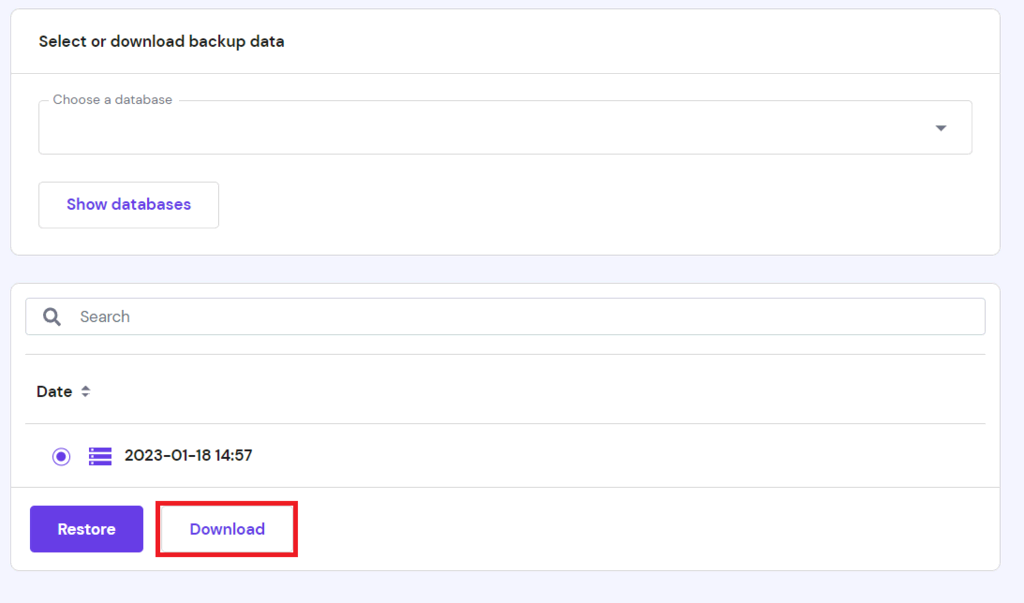
Once a notification appears, click on it to download the database file.
If your hosting plan doesn’t come with a backup function, consider using a backup plugin such as Total Upkeep, Duplicator, or VaultPress.
Important! In addition to backing up your site, turning off caching plugins like WP Super Cache and W3 Total Cache before using a new theme is crucial. Since caching plugins save and display older web pages, disabling them lets you see the recent changes made on the WordPress website.
Also, make sure to install the new themes you want to use in WordPress before using the Multiple Themes plugin.
2. Activate the Multiple Themes Plugin
After backing up the website and deactivating all caching plugins, next comes installing Multiple Themes. It’s a plugin that lets users install more than one theme for WordPress pages and posts.
This tool lets you set a different theme for the homepage or a specific URL and match the look of all links that start with the same characters or prefix URL. Also, it allows changing the theme for URLs containing a particular query keyword without changing the currently active theme.
When utilizing this plugin, it’s better to use themes from the WordPress theme directory instead of paid themes. That’s because any problems that may occur while using premium themes will be challenging to diagnose. For the same reason, it’s also recommended to avoid using paid plugins.
Moreover, this plugin can’t help set a theme for users’ admin panel as no template in the WordPress theme directory alters the appearance of the WordPress Admin panels.
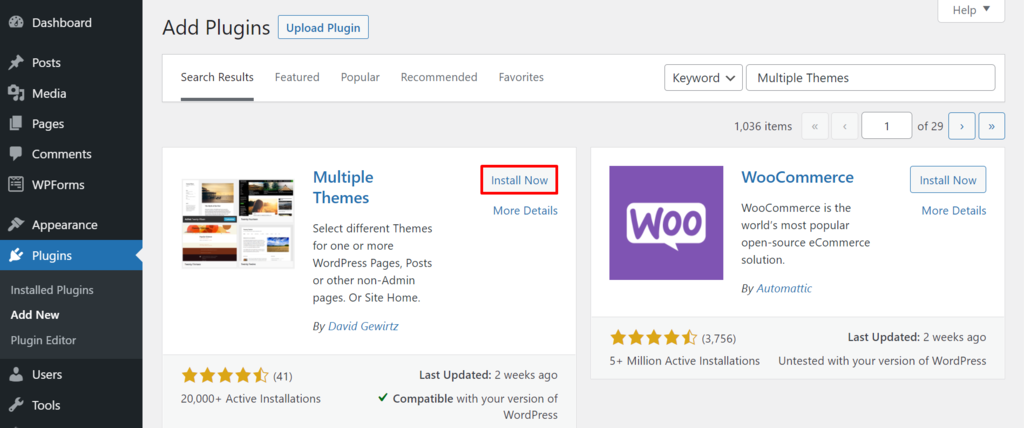
To install the WordPress plugin, log in to your WordPress admin panel and navigate to Plugins → Add New. Then, enter Multiple Themes in the search bar and click Install Now.
Wait for the installation process to complete, then click Activate.
Pro Tip
While you apply this change, consider unpublishing your WordPress site to ensure the best user experience for your visitors in case of errors.
3. Set Up Multiple Themes
It’s time to set up the plugin and start adding multiple themes to your site.
There are several options on how to use multiple themes in the plugin’s settings page, and users are free to add theme selection entries based on their preferences.
Let’s see three different ways to install different WordPress themes with this plugin:
1. Select a Different Theme for the Homepage
To use a particular theme for the site’s homepage, access the plugin’s setting page by going to Appearance → Multiple Themes plugins.
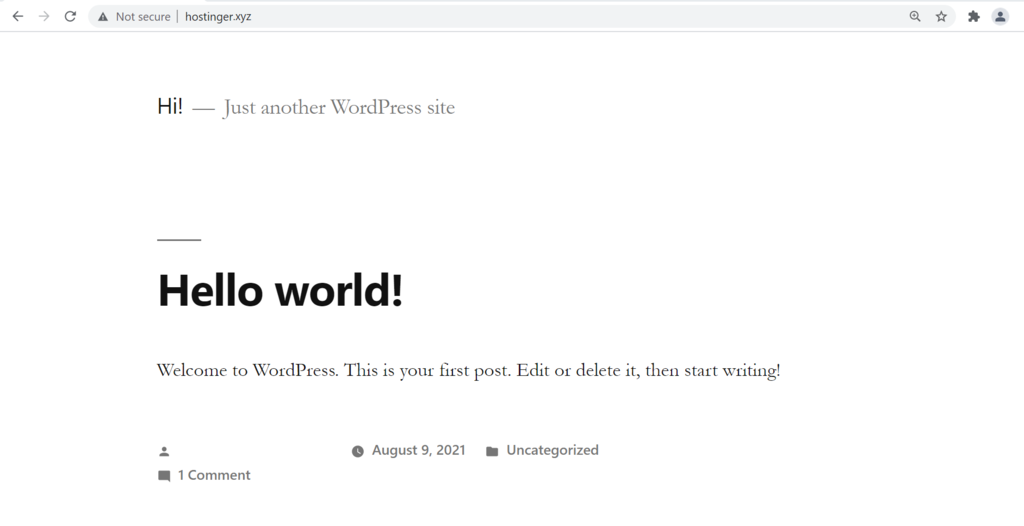
On the Settings page, scroll down to Site Home. Then, choose a theme from the Select Theme for Site Home drop-down menu. In this example, we selected Twenty Nineteen.

Once you’re done, click Save All Changes. Now you have the Twenty Nineteen theme set for the homepage, while the rest of the website uses a different theme.
2. Select a Different Theme Using a Specific URL
The next method is to set a theme to a particular page based on its URL. This is an excellent option for using a specific layout on an opt-in or landing page.
To do this, navigate to the For An Individual Page, Post or other non-Admin page section on the plugin’s Settings page.
On the Select here if URL is a Prefix option, choose URL. Then, click on the Theme drop-down menu and pick one of the available themes – we have chosen Twenty Twenty. After that, type your site URL in the URL of Page, Post, Prefix or other field.
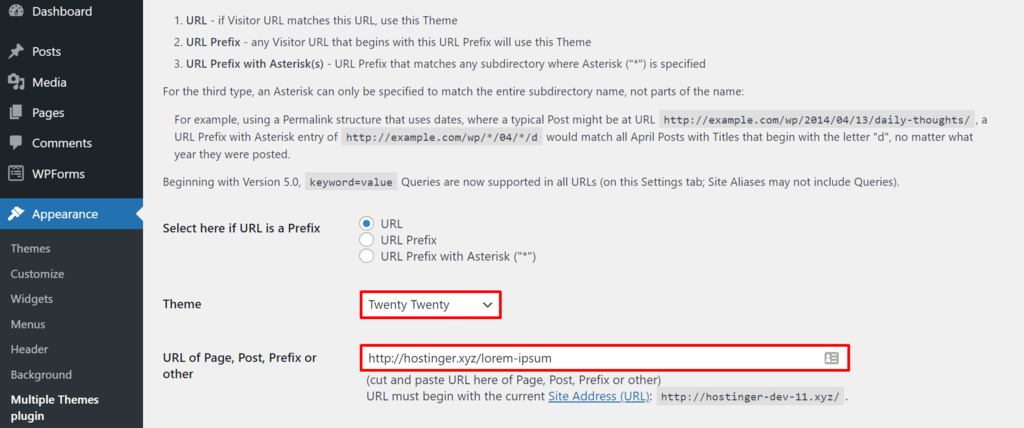
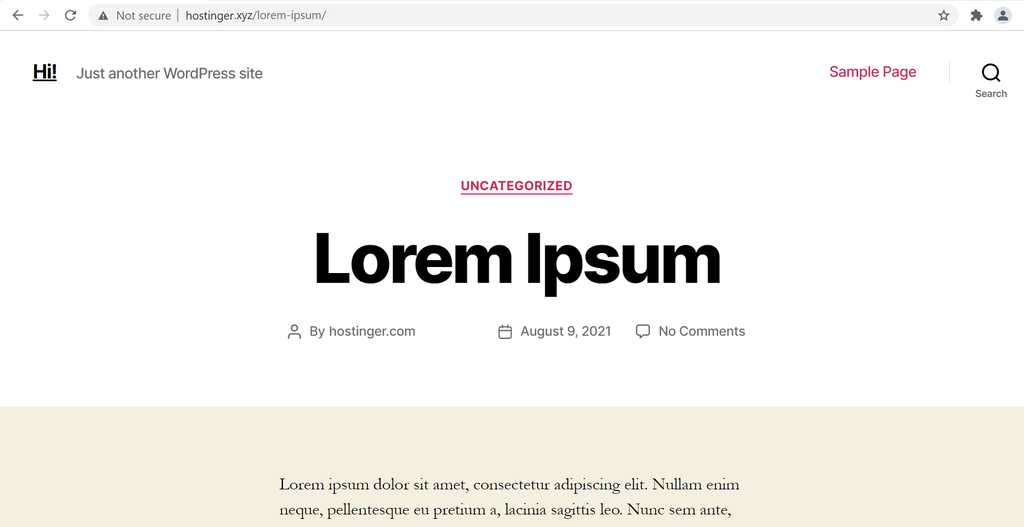
Click Save All Changes to add the theme entry. Visit the page to see the new changes.
To choose a theme for a group of pages with the same URL prefix, go to the same section on the plugin’s Settings page and select the URL Prefix option.
Then, pick one of the theme options and type the prefix URL of the pages. Let’s say you want to have the same theme for all blog posts, then enter yoursite.com/blog here.
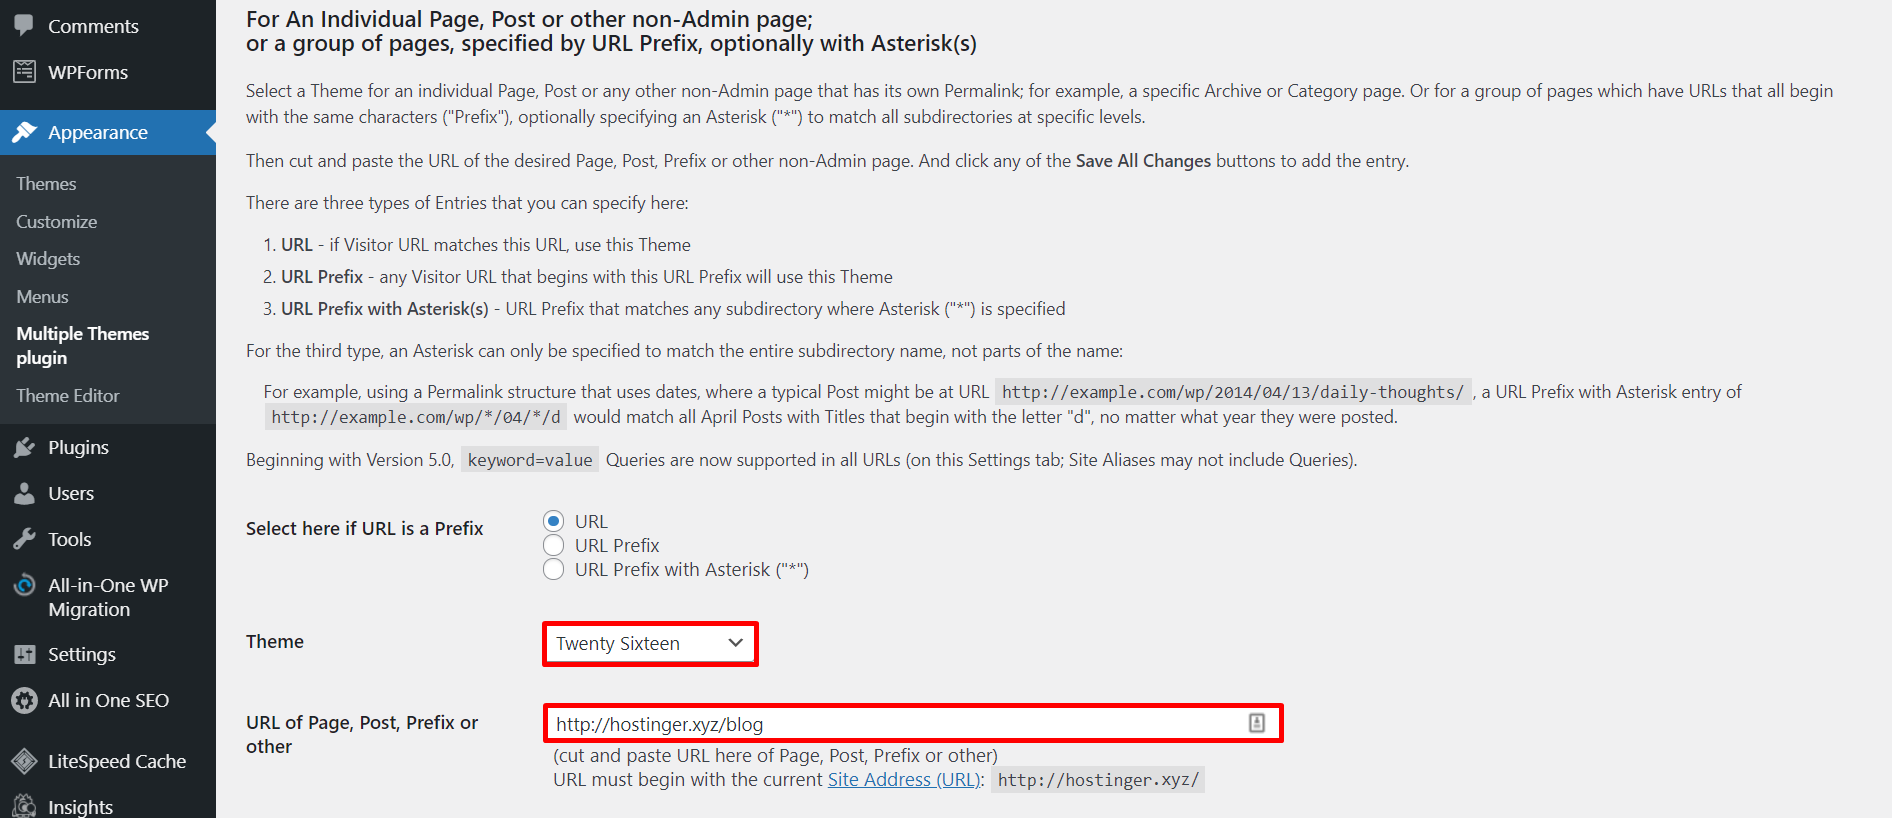
Once you’re done, click Save All Changes.
3. Select a Different Theme Using a Query Keyword
With the Multiple Themes plugin, you can also use different themes for specific web pages based on the query keyword found in the URLs.
To use this method, go to the For A Query Keyword on any Page, Post or other non-Admin page section on the plugin’s Settings page.
Then, select a theme in the drop-down menu and fill in the Query Keyword box. We used the Twenty Twenty-One theme and “test” as the keyword here.
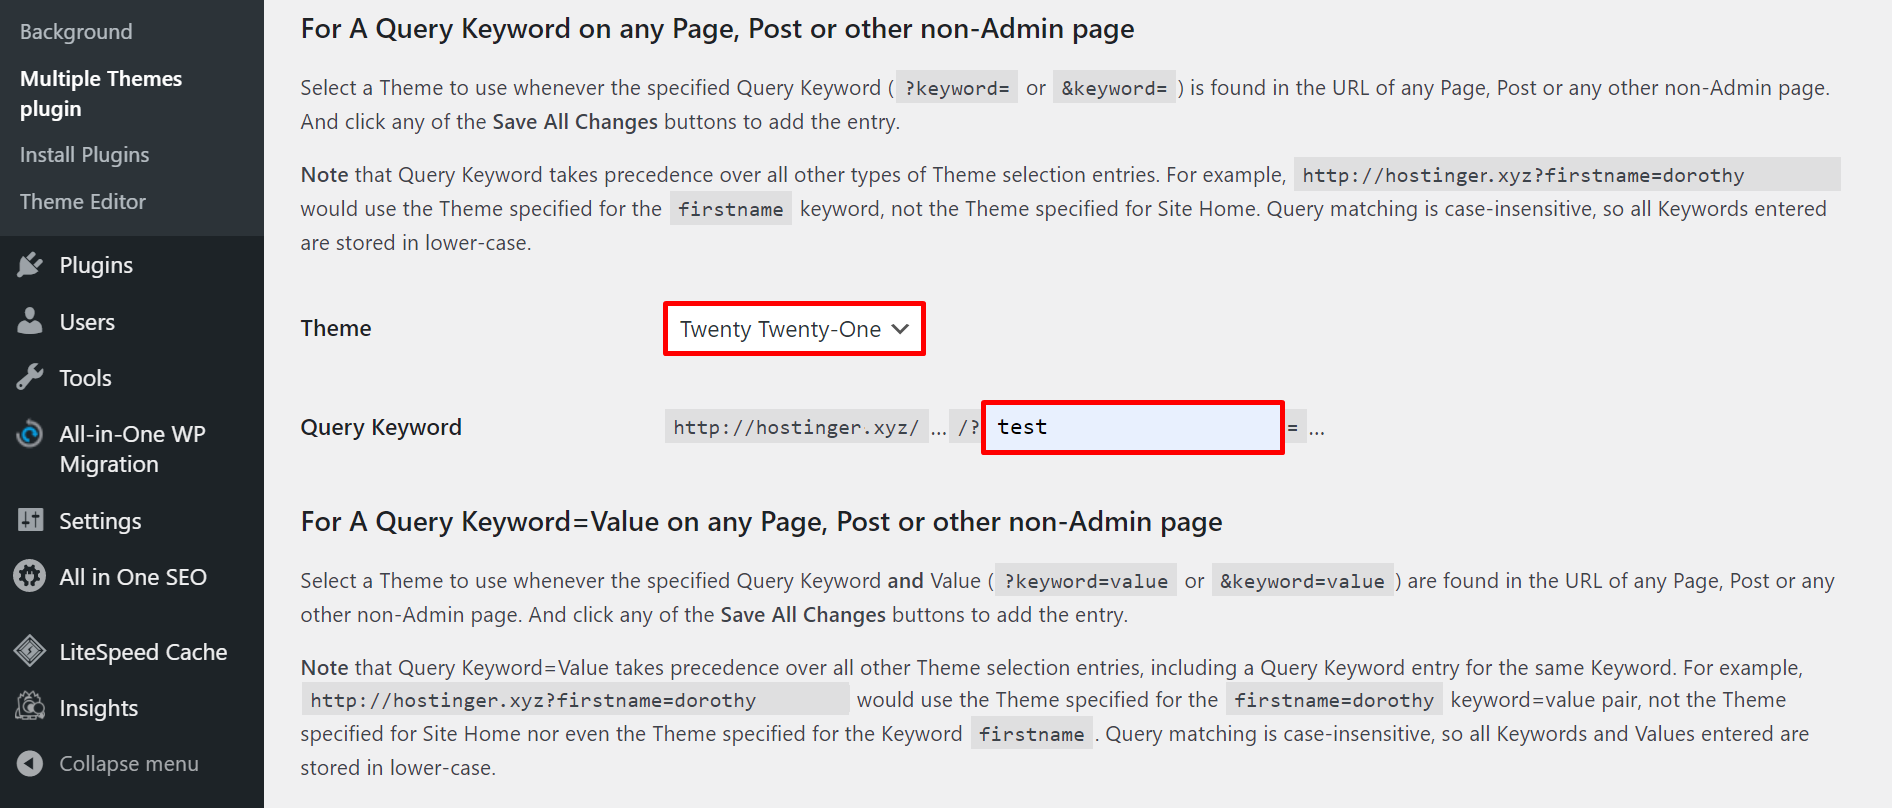
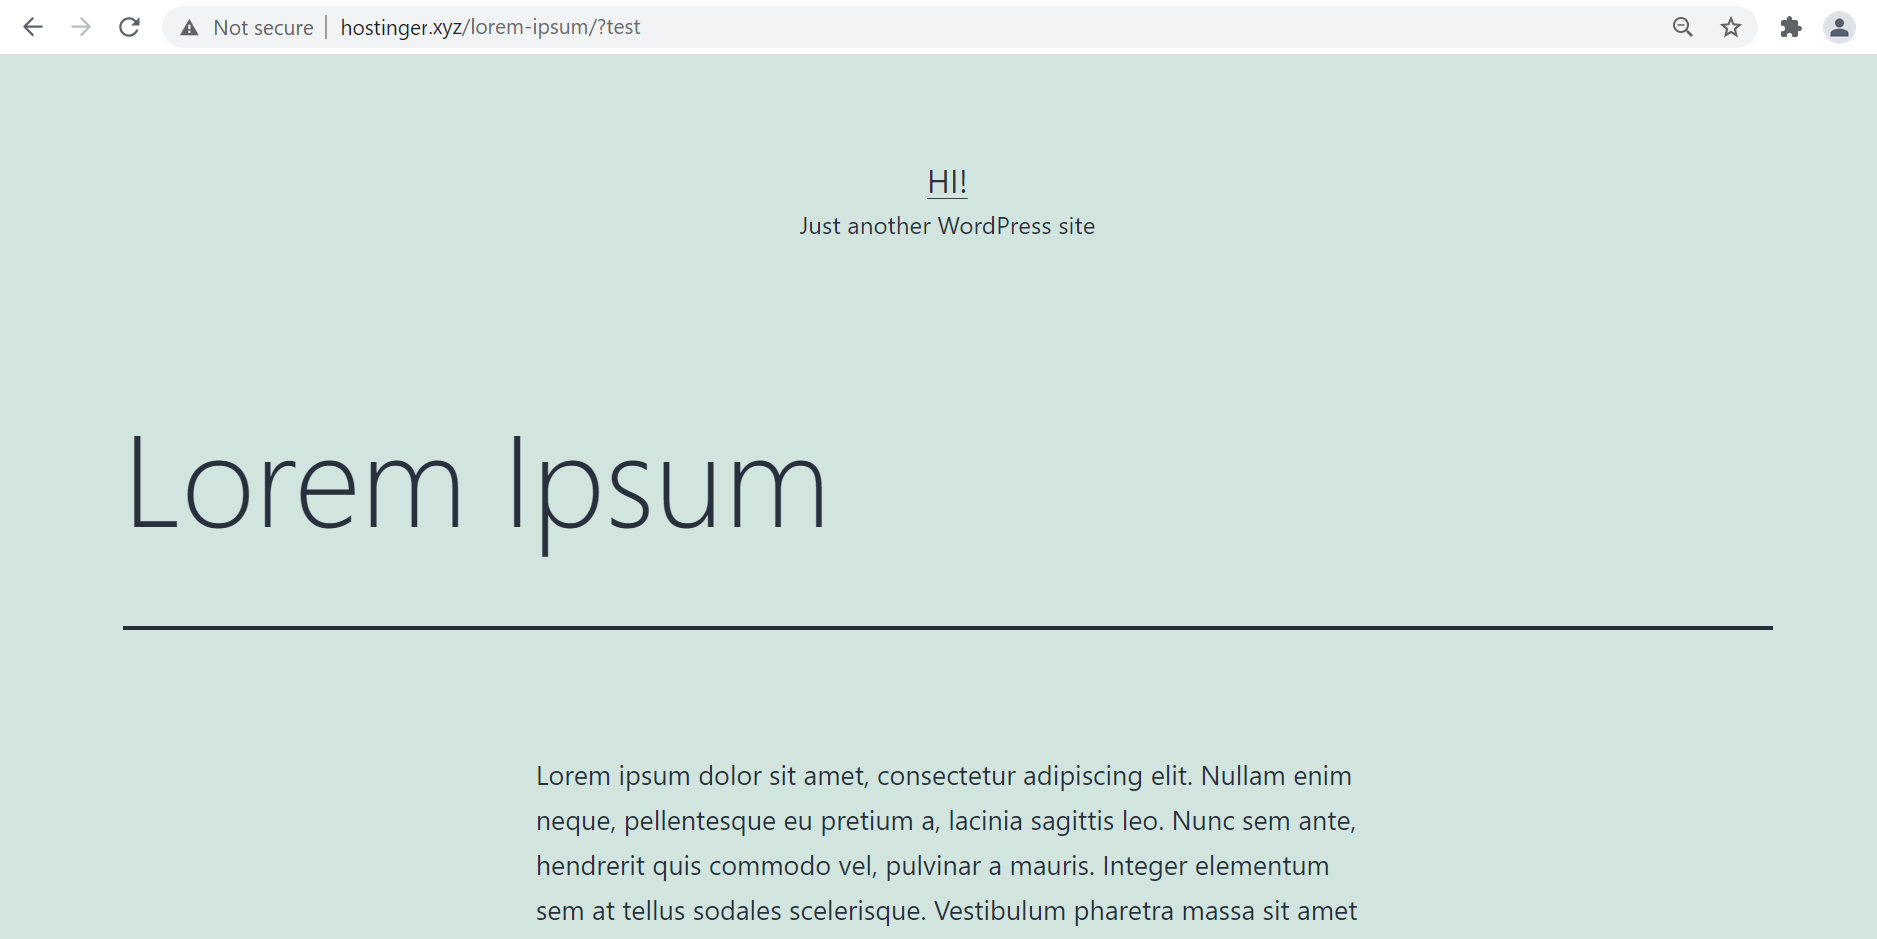
Finish by clicking Save All Changes. Now any site links containing the keyword you entered will use the theme defined in this setting.
This option can also be used to add theme selection entries based on a query keyword and value in the URLs.
To do this, navigate to For A Query Keyword=Value on any Page, Post or other non-Admin page and choose an option from the Theme drop-down menu.

After that, type in the keyword and value in the Query Keyword and Query Value fields. Hit the Save All Changes button to proceed.
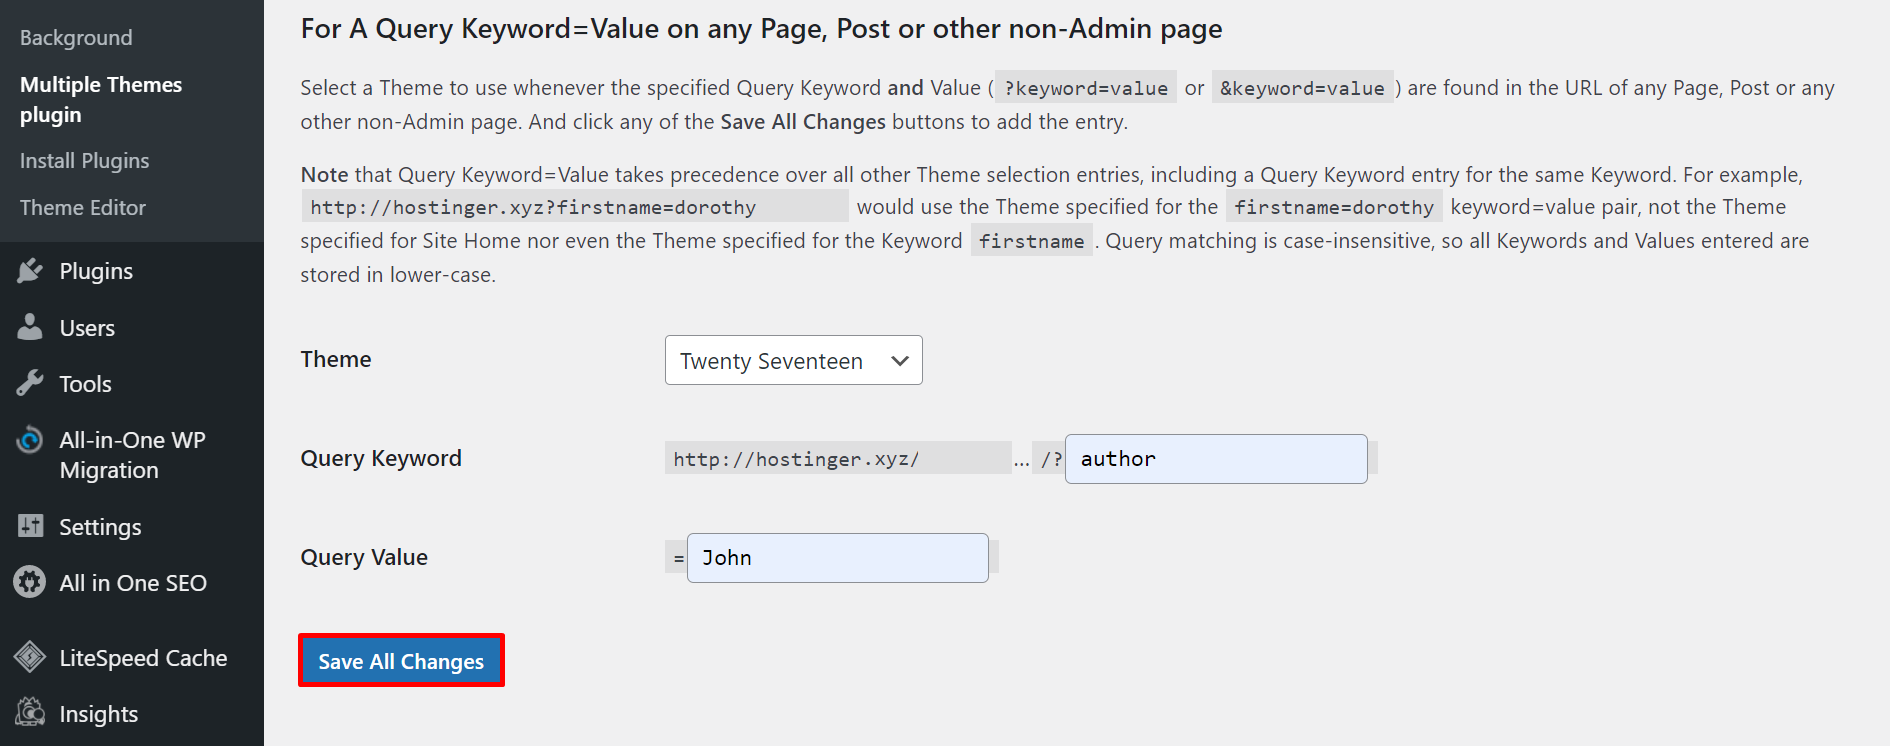
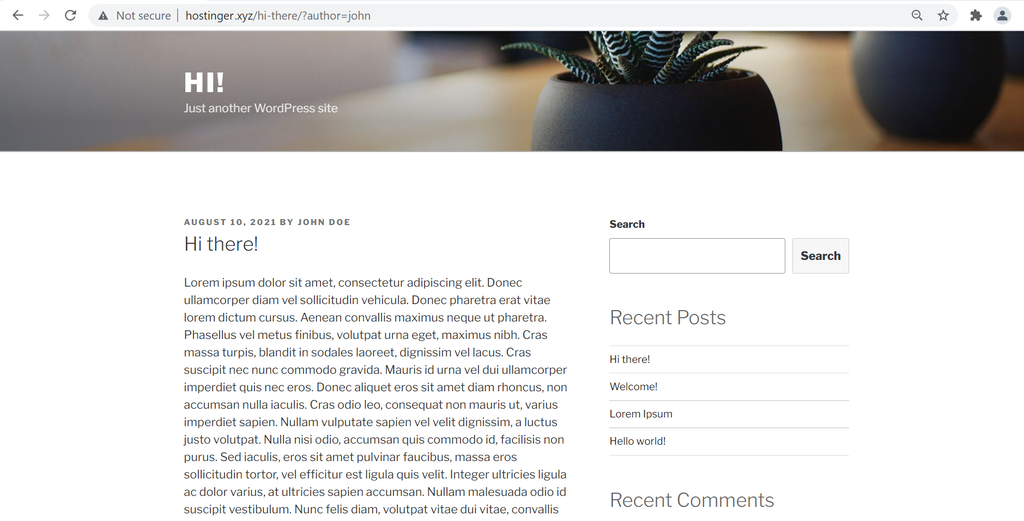
Now any pages with URLs that contain that query keyword and value will display the active theme defined in this setting.
To see all the theme rules you’ve set with this plugin, head to the Current Theme Selection Entries on the Settings page.
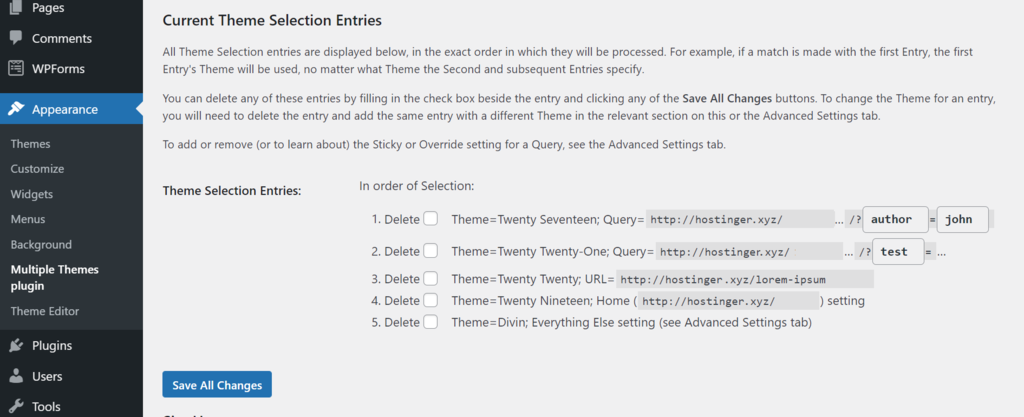
If you want to delete any entry, simply tick the box next to Delete and click Save All Changes.
4. Customize the Theme
After choosing different themes for specific pages, it’s time to finish designing your website.
To customize a specific theme, first, you’ll need to activate it temporarily.
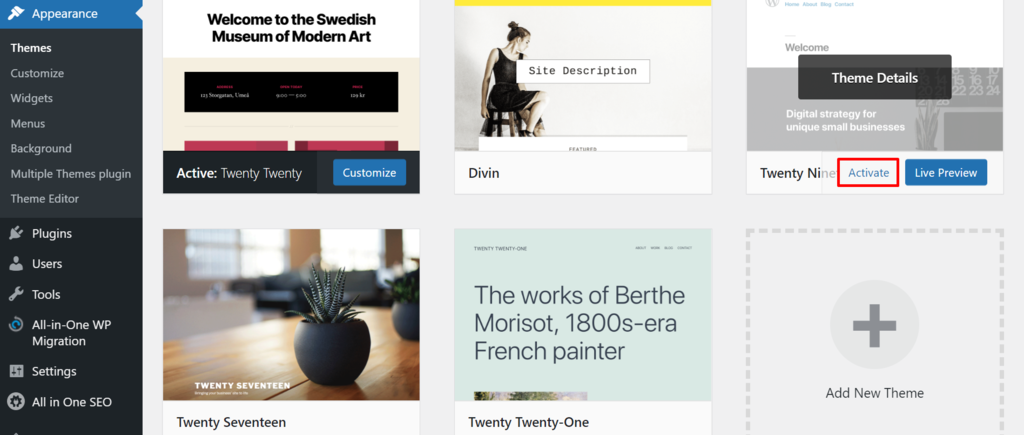
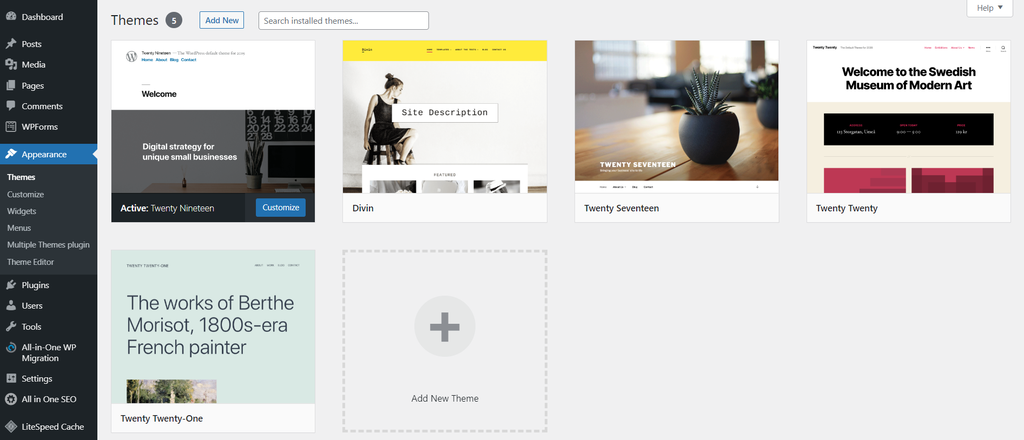
Start the process by heading to Appearance → Themes from your WordPress dashboard. Hover over the theme you want to customize and click Activate. In this example, the active theme is Twenty Twenty, and the one we’ll modify is Twenty Nineteen.
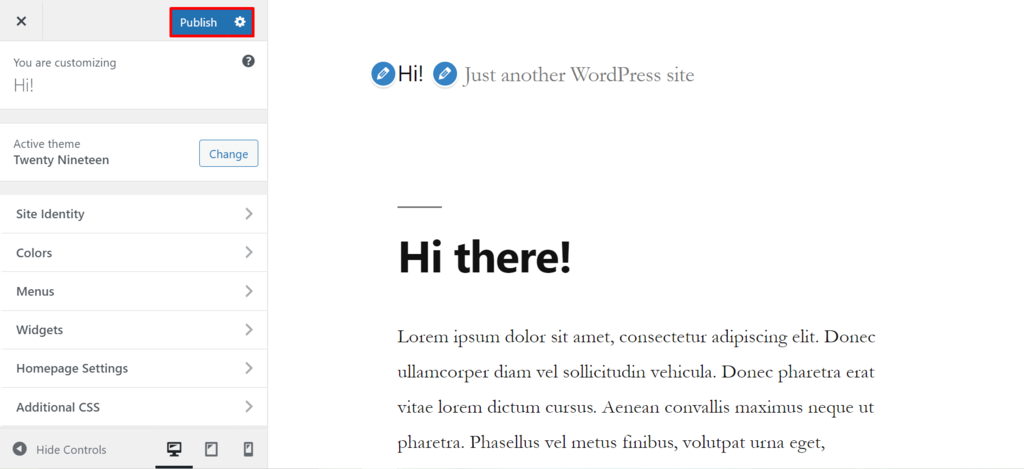
After activating the theme, go to Appearance → Customize and modify the template to your liking. Once complete, click Publish to save the changes.
Go back to Appearance → Themes and reactivate the previous theme.
Note that when choosing this method, the rest of your site will display the same theme as the one you’re currently customizing, except for pages with the specific themes that you’ve determined in the plugin’s settings.
If you want to modify a specific page without changing the other pages’ themes, head to Appearance → Multiple Themes plugin. Then, click the Advanced Settings tab.
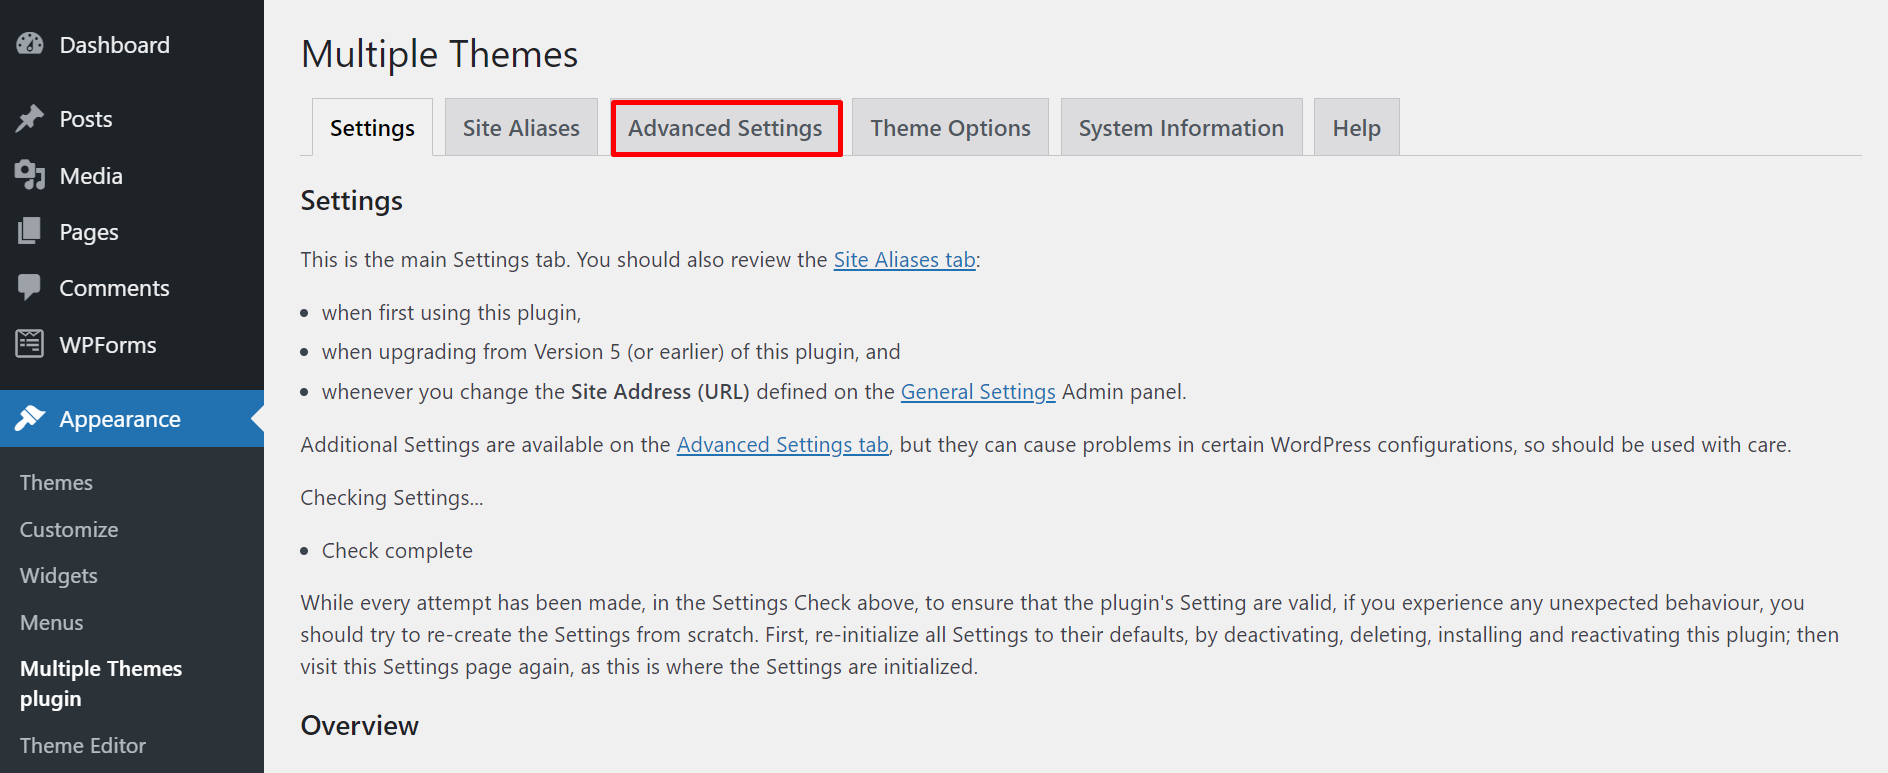
On the Advanced Setting page, scroll down to the Theme for Everything section and select your WordPress active theme from the drop-down menu.
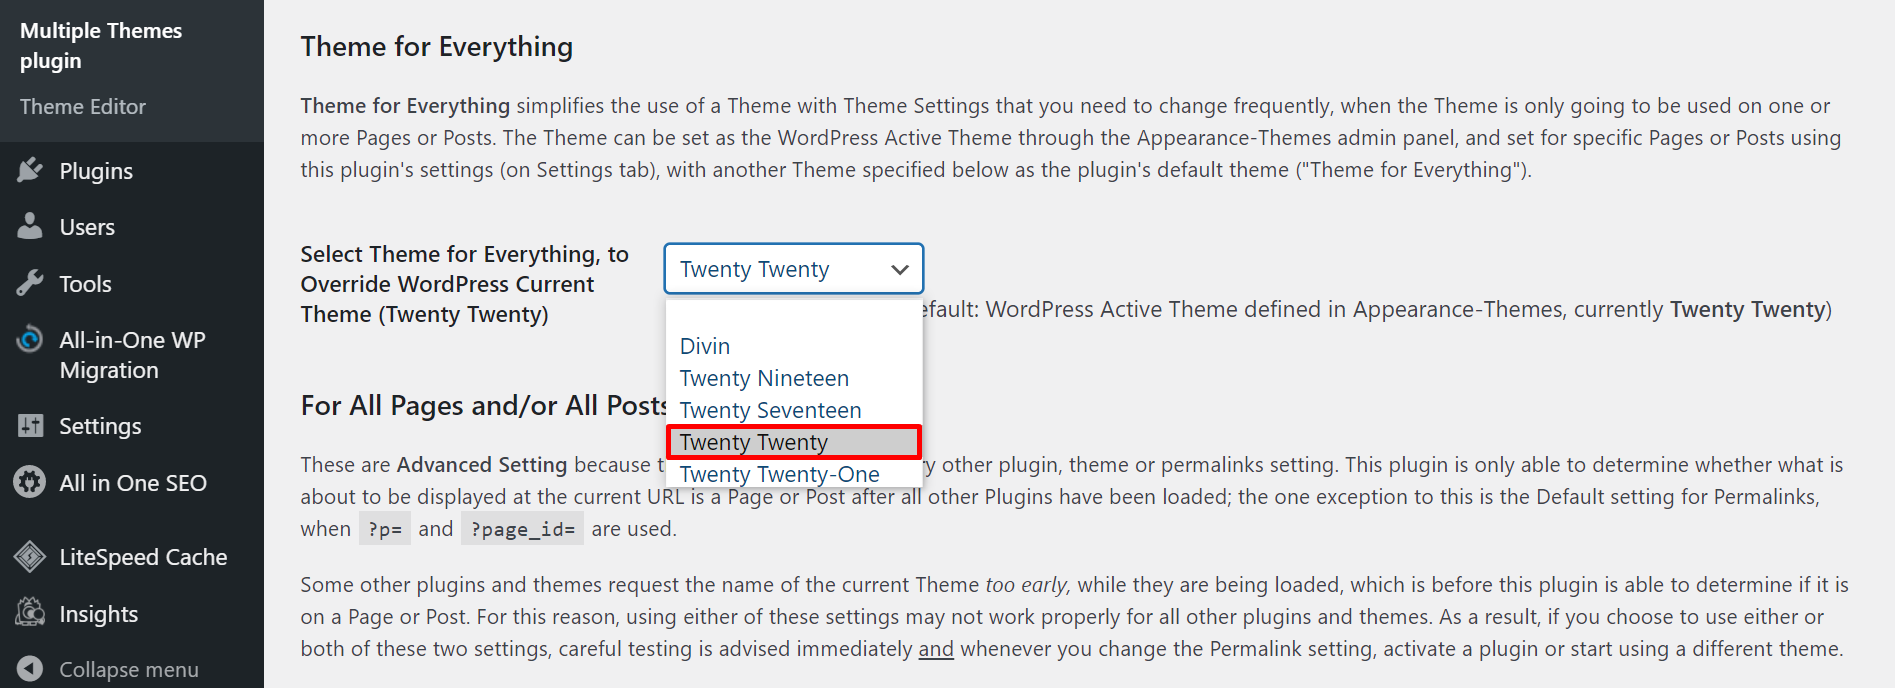
Click Save All Changes to proceed, then go to Appearance → Themes. Now you can activate and customize any theme you want without affecting the other pages’ themes. It’s also unnecessary to reactivate the previous theme.
Once you’re finished, leave the setting as it is or go back to Multiple Themes plugin → Advanced Setting → Theme for Everything and select the blank option from the drop-down menu.

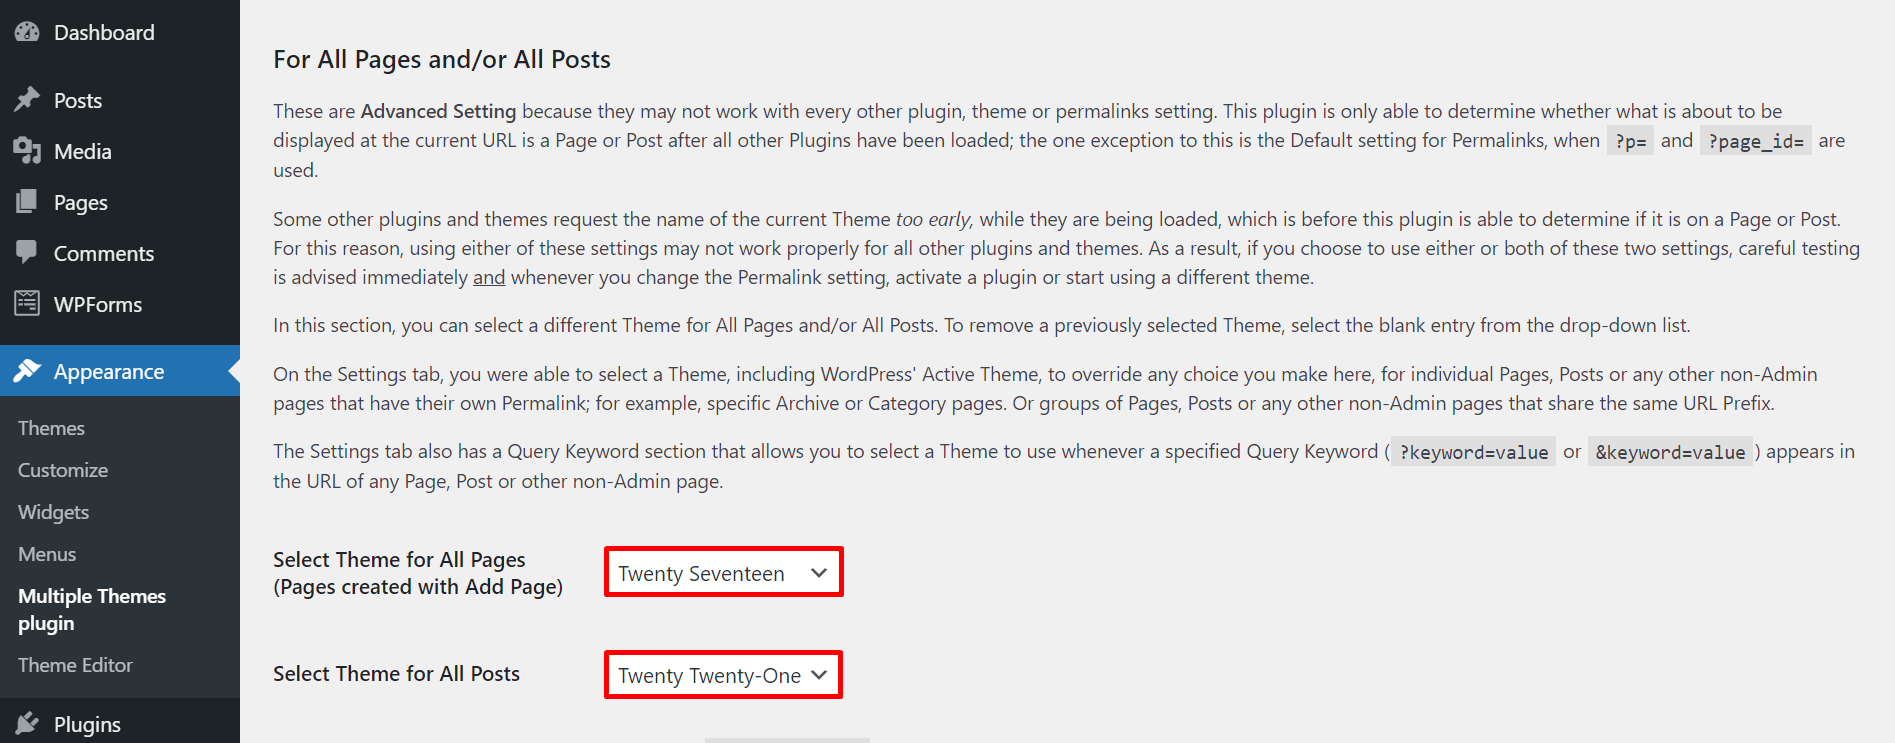
On the Advanced Settings page, it’s also possible to set multiple themes to different pages and posts separately. To do this, scroll down to the For All Pages and/or All Posts and pick the themes individually. Select Save All Changes to finish.
For more advanced theme options, go to the Theme Options tab on the Multiple Themes’ Settings page.

Alternatives to the Multiple Themes WordPress Plugin
If your themes or plugins don’t seem to be working with the Multiple Themes plugin, consider using Multisite as an alternative.
Multisite, also known as WordPress Network, is a feature that lets users create a network and manage multiple websites from a single dashboard. When activating this function, numerous sites will look like just one website on the visitor’s browser.
With Multisite, users can choose themes and plugins for individual websites without using the Multiple Themes plugin.
To use Multisite, you’ll need access to a web hosting service, a new WordPress installation, and an FTP client.
Also, note that since most themes and plugins are created for a single site, you might find that some of them aren’t compatible with WordPress Network, leading to conflicts on the site.
Another alternative to consider is a WordPress page builder. With this tool, you can customize as many layouts as you want without installing two themes on the website.
A page builder plugin also provides built-in features that users can access directly from the interface, making modifying each post or page easy and effective.
There are many WordPress page builders to choose from, but here are some of our recommendations:
- Gutenberg Blocks by Kadence – enhances the functionality of WordPress Gutenberg editor by offering 12 custom blocks such as gallery and heading blocks.
- WP Page Builder – its drag-and-drop slider gives users the flexibility to add elements and resize columns without hassle.
- Live Composer – lets users start the page-building process from a blank canvas or pre-made themes.
- Beaver Builder – provides multiple landing page templates for various purposes, from online portfolios to web agencies.
- WPBakery – features a built-in skin builder, allowing users to add custom elements to a new theme and set a matching color scheme throughout each page.
- Divi – has more than 40 modules to add sections for galleries, forms, calls to action, and blogs.
- Visual Composer – offers plenty of background, animation effects, and advanced parallax types to make a site look visually appealing.
Conclusion
If you don’t want to use the same layout for all site pages, take advantage of the Multiple Themes plugin and feature more than one theme in a single WordPress installation.
This tool lets users set as many themes as they want for different pages and posts without changing their active theme.
Here’s how to use multiple themes in WordPress:
- Prepare for the installation – create a backup file to prevent losing any content during the process and disable any caching plugin to see the changes in real-time.
- Activate the Multiple Themes plugin – install and activate this plugin from your WordPress dashboard.
- Set up Multiple Themes – head to the plugin’s settings page to set a specific theme for the homepage or add multiple themes to particular pages based on their URLs, prefix URL, and query keyword.
- Customize the theme – temporarily activate a theme to modify it, then reactivate the main theme after the customization.
Keep in mind that Multiple Themes can’t change WordPress admin panels. It’s also recommended not to use paid themes and plugins when utilizing this plugin.
If the plugin doesn’t work with your site, consider using Multisite or a WordPress page builder instead.
We hope this article helped you understand how to add multiple themes to WordPress. If you have any questions, let us know in the comments below.
Learn Other WordPress Theme Techniques
How to Create WordPress Theme
WordPress Theme Editor
How to Translate WordPress Theme
How to Create WordPress Child Theme
Multiple WordPress Themes FAQ
Read the following frequently asked questions to understand the topic better.
How Many Themes Can My WordPress Site Activate Simultaneously?
You can activate one theme at a time on your WordPress site. However, you can install and preview multiple themes in the WordPress dashboard, and switch between them as needed. Any changes made to the active theme will be visible on your website.
Can I Use a Different Theme For Different Pages?
Yes, you can use a different theme for different pages on your WordPress site by using a plugin like Multiple Themes. This plugin allows you to assign a different theme to individual pages, posts, or categories, giving you greater flexibility in customizing your site’s appearance.
How Often Should I Change My WordPress Site Theme?
There is no set timeframe for changing your WordPress site theme. It is recommended to change your theme if it becomes outdated, incompatible with the latest version of WordPress, or if you want to improve your site’s design and functionality.

Amanda is a WordPress and digital marketing enthusiast with a passion for helping others grow their businesses and careers. She enjoys producing content that is both informative and helpful. When she's not working, Amanda loves hiking, reading books, and filling her bullet journal.
